Image Stitching
The image stitching functionality requires rakaia v0.29.0 or later.
Rakaia enables image stitching for one or more blended ROIs rendered in a session, where multiple blended images can be pieced together. Images can be stitched from either the main canvas or the dataset gallery, providing an approximation of a whole slide image or image panorama using user-set channel blends.
Before proceeding with this section, users should review the articles on channel/image blending and multi-ROI sessions/rendering. These parts of the documentation will explain how to create meaningful RGB channel blends in the main canvas and render multiple ROIs in a session using the dataset gallery, both of which are useful for creating stitched images.
Image stitching controls
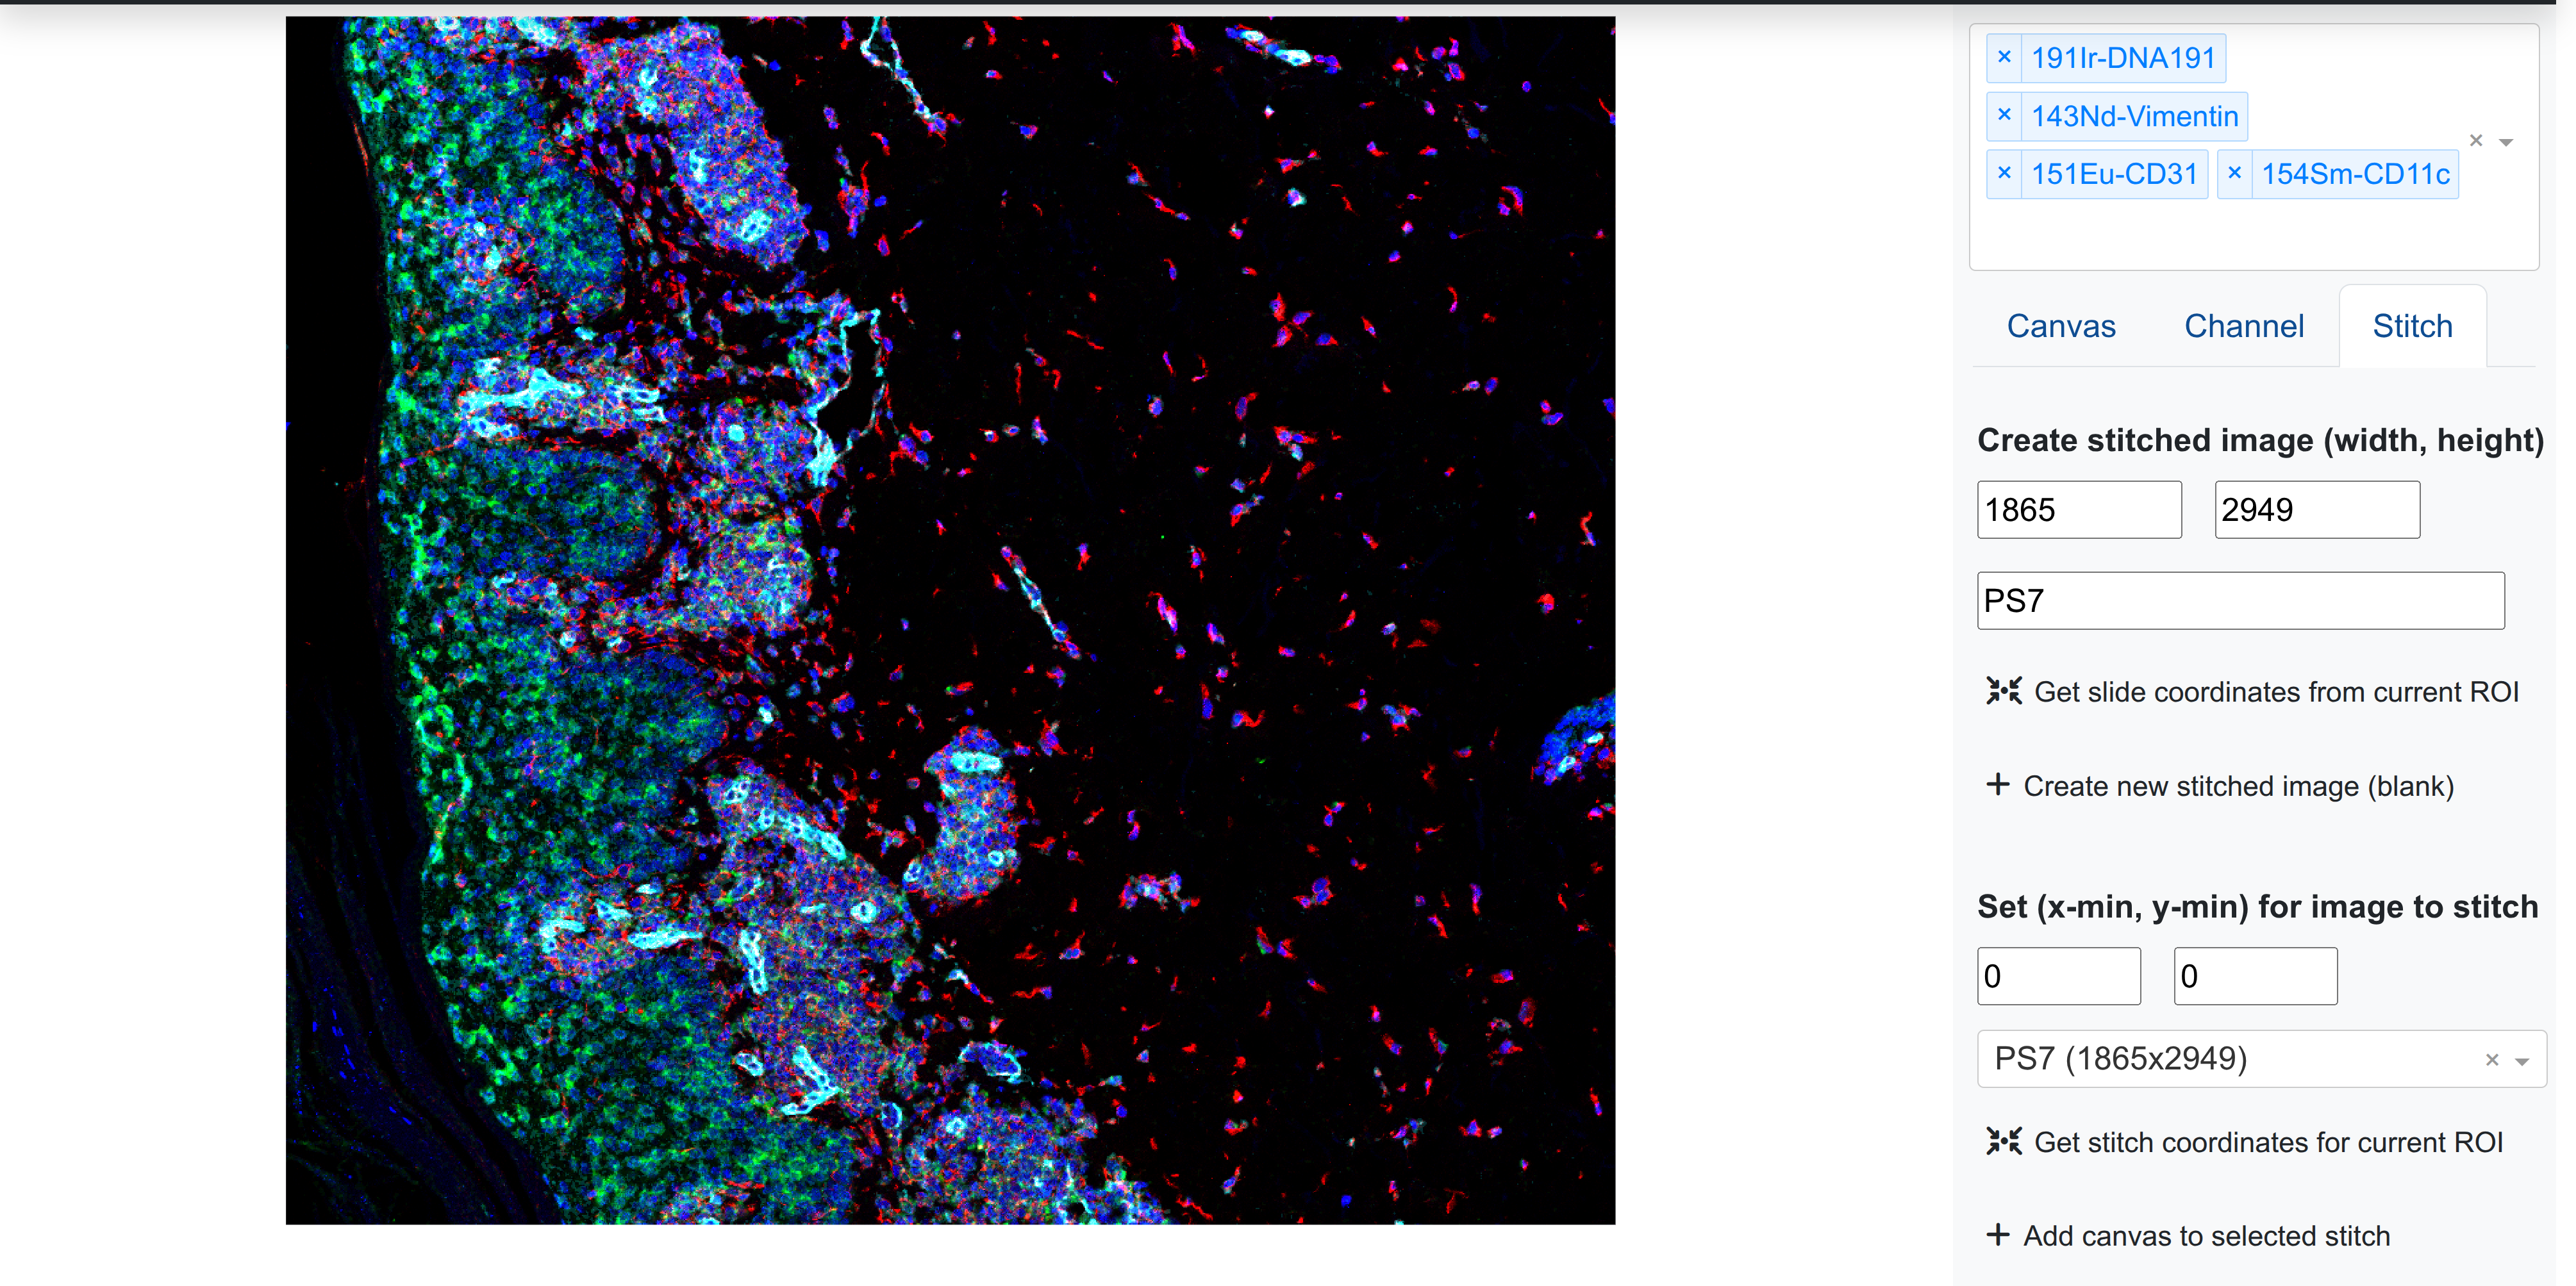
Basic image stitching controls are found in the right side-panel next to Canvas and Channel:
The Stitch menu allows the user basic inputs to create, modify, view, delete, and download stitched images within the session.
Creating stitches
Stitches can be created with a unique name, and required both a width (x-axis span) and height (y-axis span). Users can create a new stitch with any unique identifier and a non-zero width and height. Once generated, this stitch will be available for selection under Select stitched image to modify.
Inserting an image into a stitch
Users can insert an image into a stitch at a specific coordinate position. Rakaia takes the top left coordinate where the user wishes to insert a new blend, and will fill in the rest of the stitch with the RGB image based on the current image width and height. This tpo left coordinate must be set under Set (x-min, y-min) for image to stitch. By selecting Add canvas to stitch, the user can add the current canvas into the stitch at that position
Previewing stitched images
At any point, users can preview the selected stitched image to see what blends have been added by selecting Preview selected stitch. This will open up the stitch modal with a pixel-downsampled version of the stitch:
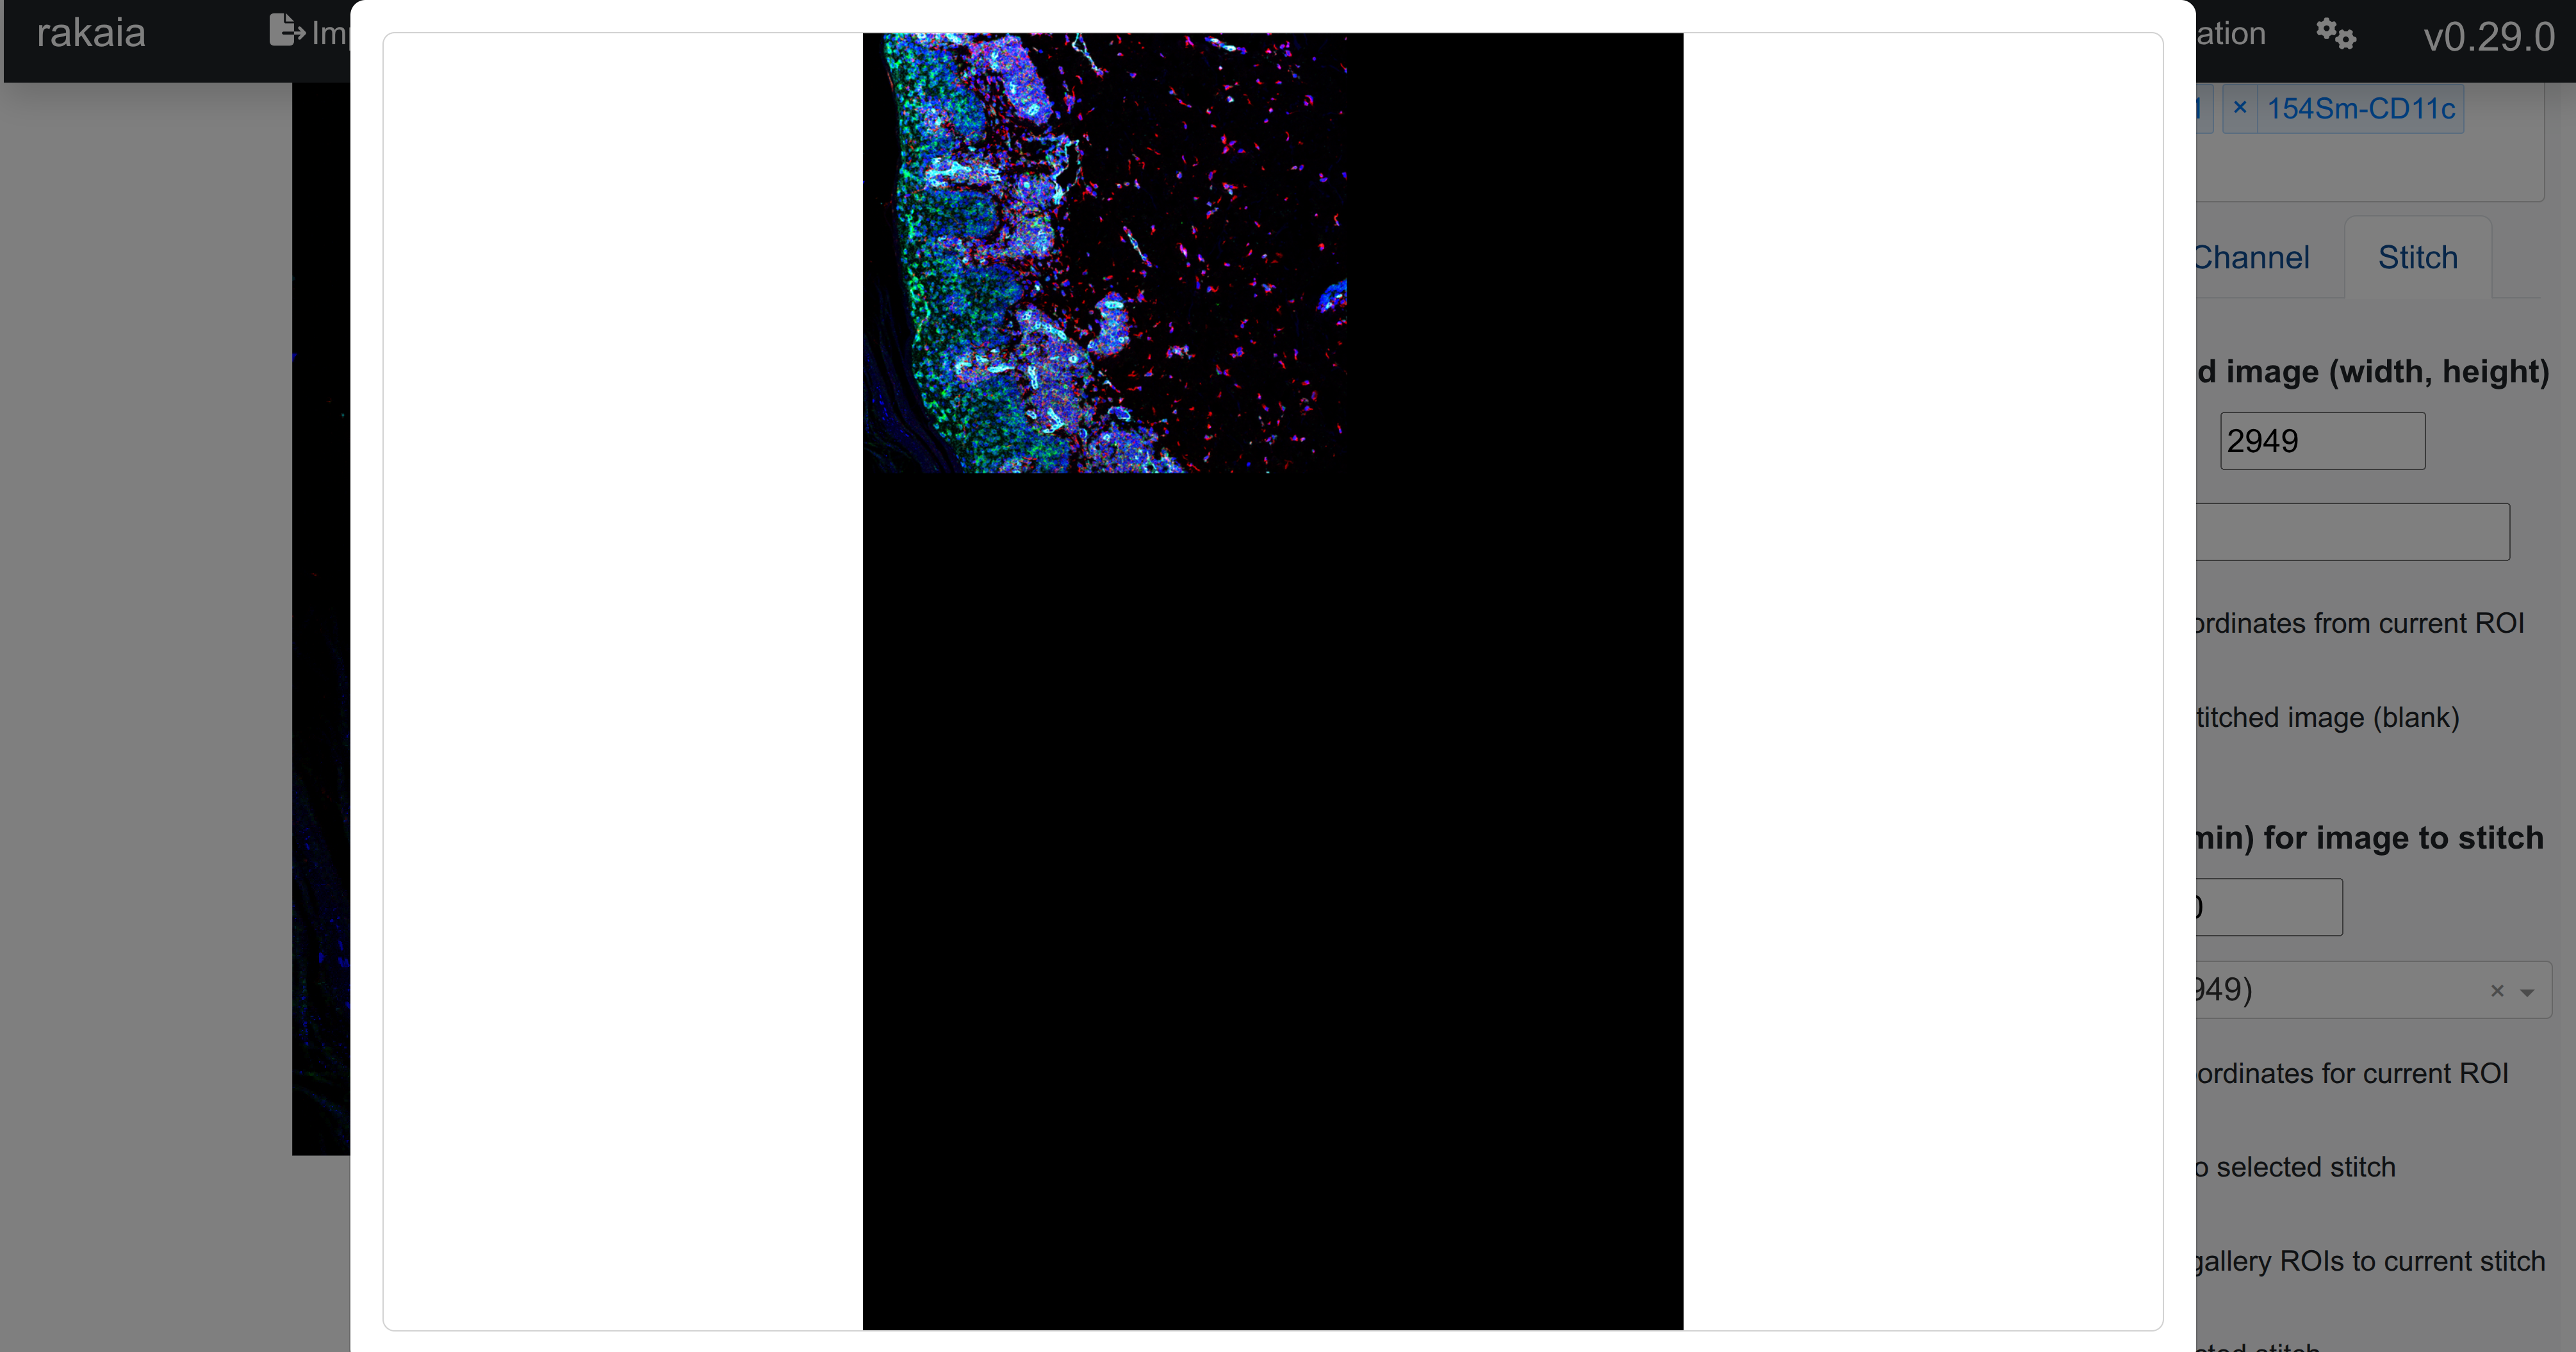
As seen inthe example above, a stitch has been created for this dataset: https://borealisdata.ca/file.xhtml?fileId=833251&version=1.0, and the first ROI of the file has been added to the stitch with a user-specified blend.
Deleting stitches
Deleting a stitch will remove it from the cache and the stitch selection menu. If a users wishes to reset a stitch to the default, they can recreate the stitch with the same name, and the stitch will return to fully blank.
Downloading stitches
Each stitchde image can be downloaded separately by selecting Download selected stitch (zip). The stitched image will be downloaded as a zip file, as the dimensions for the whole slide stitches are often quite large (>10000 pixels in either dimension).
Auto-detecting image slide coordinates
Detecting image slide coordinates consists of identifying the minimum slide width and height which can contain all of the ROIs that the user wishes to stitch. Currently, this is supported for MCD IMC files as well as CosMX Anndata files.
MCD
As of Rakaia v0.29.0, users with MCD files corresponding to Image mass cytometry assays can use features to auto-detect the underlying slide parameters and coordinates for ROIs imported within an MCD file. This is enabled because the underlying file structure for multiple ROIs saves the global slide coordinates for every acquisition in the file, allowing the slide layout to be reconstructed in Rakaia.
For more information on the structure of MCD files and parsing them, visit the documentation for the readimc library, which is used to parse MCD files: https://bodenmillergroup.github.io/readimc/
There are two controls for using slide auto-detection with MCD files: auto-detecting the underlying slide parameters, and auto-detecting the coordinate positions for a specific ROI in the underlying slide.
CosMX
CosMX stitching is supported in rakaia v0.32.0 and later. In order to support the stitching, the Anndata (.h5ad) CosMX file must have the following variables in the uns slot:
{'cosmx_global_max': {'x': , ''y': }}
Where x and y are the height and width of the slide that will contain all of the FOVs for stitching.
Auto-detecting slide parameters
Similar to detecting the slide width and height above, Rakaia can auto-detect the stitch position for MCD IMC ROIs and CosMX ROIs. This is the top-left position in the stitch image where the ROI will be inserted.
MCD
By selecting Get slide coordinates from current ROI, users can parse the MCD file for the current ROI and have the width and height auto-populated in the create stitch menu. This helps users to create stitched images that mimic the slide profiled in the MCD.
Auto-detecting ROI coordinates for the underlying slide
Similarly, for a specific ROI, selecting Get switch coordinates for current ROI will auto-detect the top left position in the underlying slide where the current ROI should be placed. This will help users to find the proper slide position to place an ROI without having to manually parse or estimate the position for insertion.
Changing ROIs within the mcd does not automatically trigger auto-detection or clearing of the previous slide coordinates in the x-min and y-min input values. This is something that will be changed in the coming versions of Rakaia. For now, user MUST select Get switch coordinates for current ROI every time a new ROI is loaded into the canvas, to get the correct coordinates for that specific ROI.
CosMX
CosMX stitching is supported in rakaia v0.32.0 and later. In order to support the stitching, the Anndata (.h5ad) CosMX file must have the following variables in the uns slot:
{'cosmx_global_max': {'x': , ''y': }}
Where x and y are the height and width of the slide that will contain all of the FOVs for stitching.
Adding images to a stitch from the dataset gallery
Blended ROIs can also be added from the dataset gallery to the current stitch selection. This requires that the ROIs be derived from an MCD file or CosMX assay as above, otherwise, it won't be able to auto-detect the proper coordinate position for insertion in bulk.
Once the user has populated the dataset gallery with one or more ROIs, selecting Add dataset ROIs to current stitch will perform the insertion of all ROIs in the gallery into their auto-detected positions (essentially mimicking an auto-fill version of the coordinate auto-detection above). If all ROIs for one MCD file are loaded in the gallery, this functionality can create the complete panorama stitch for the underlying slide.
From the dataset gallery of rendered ROIs:
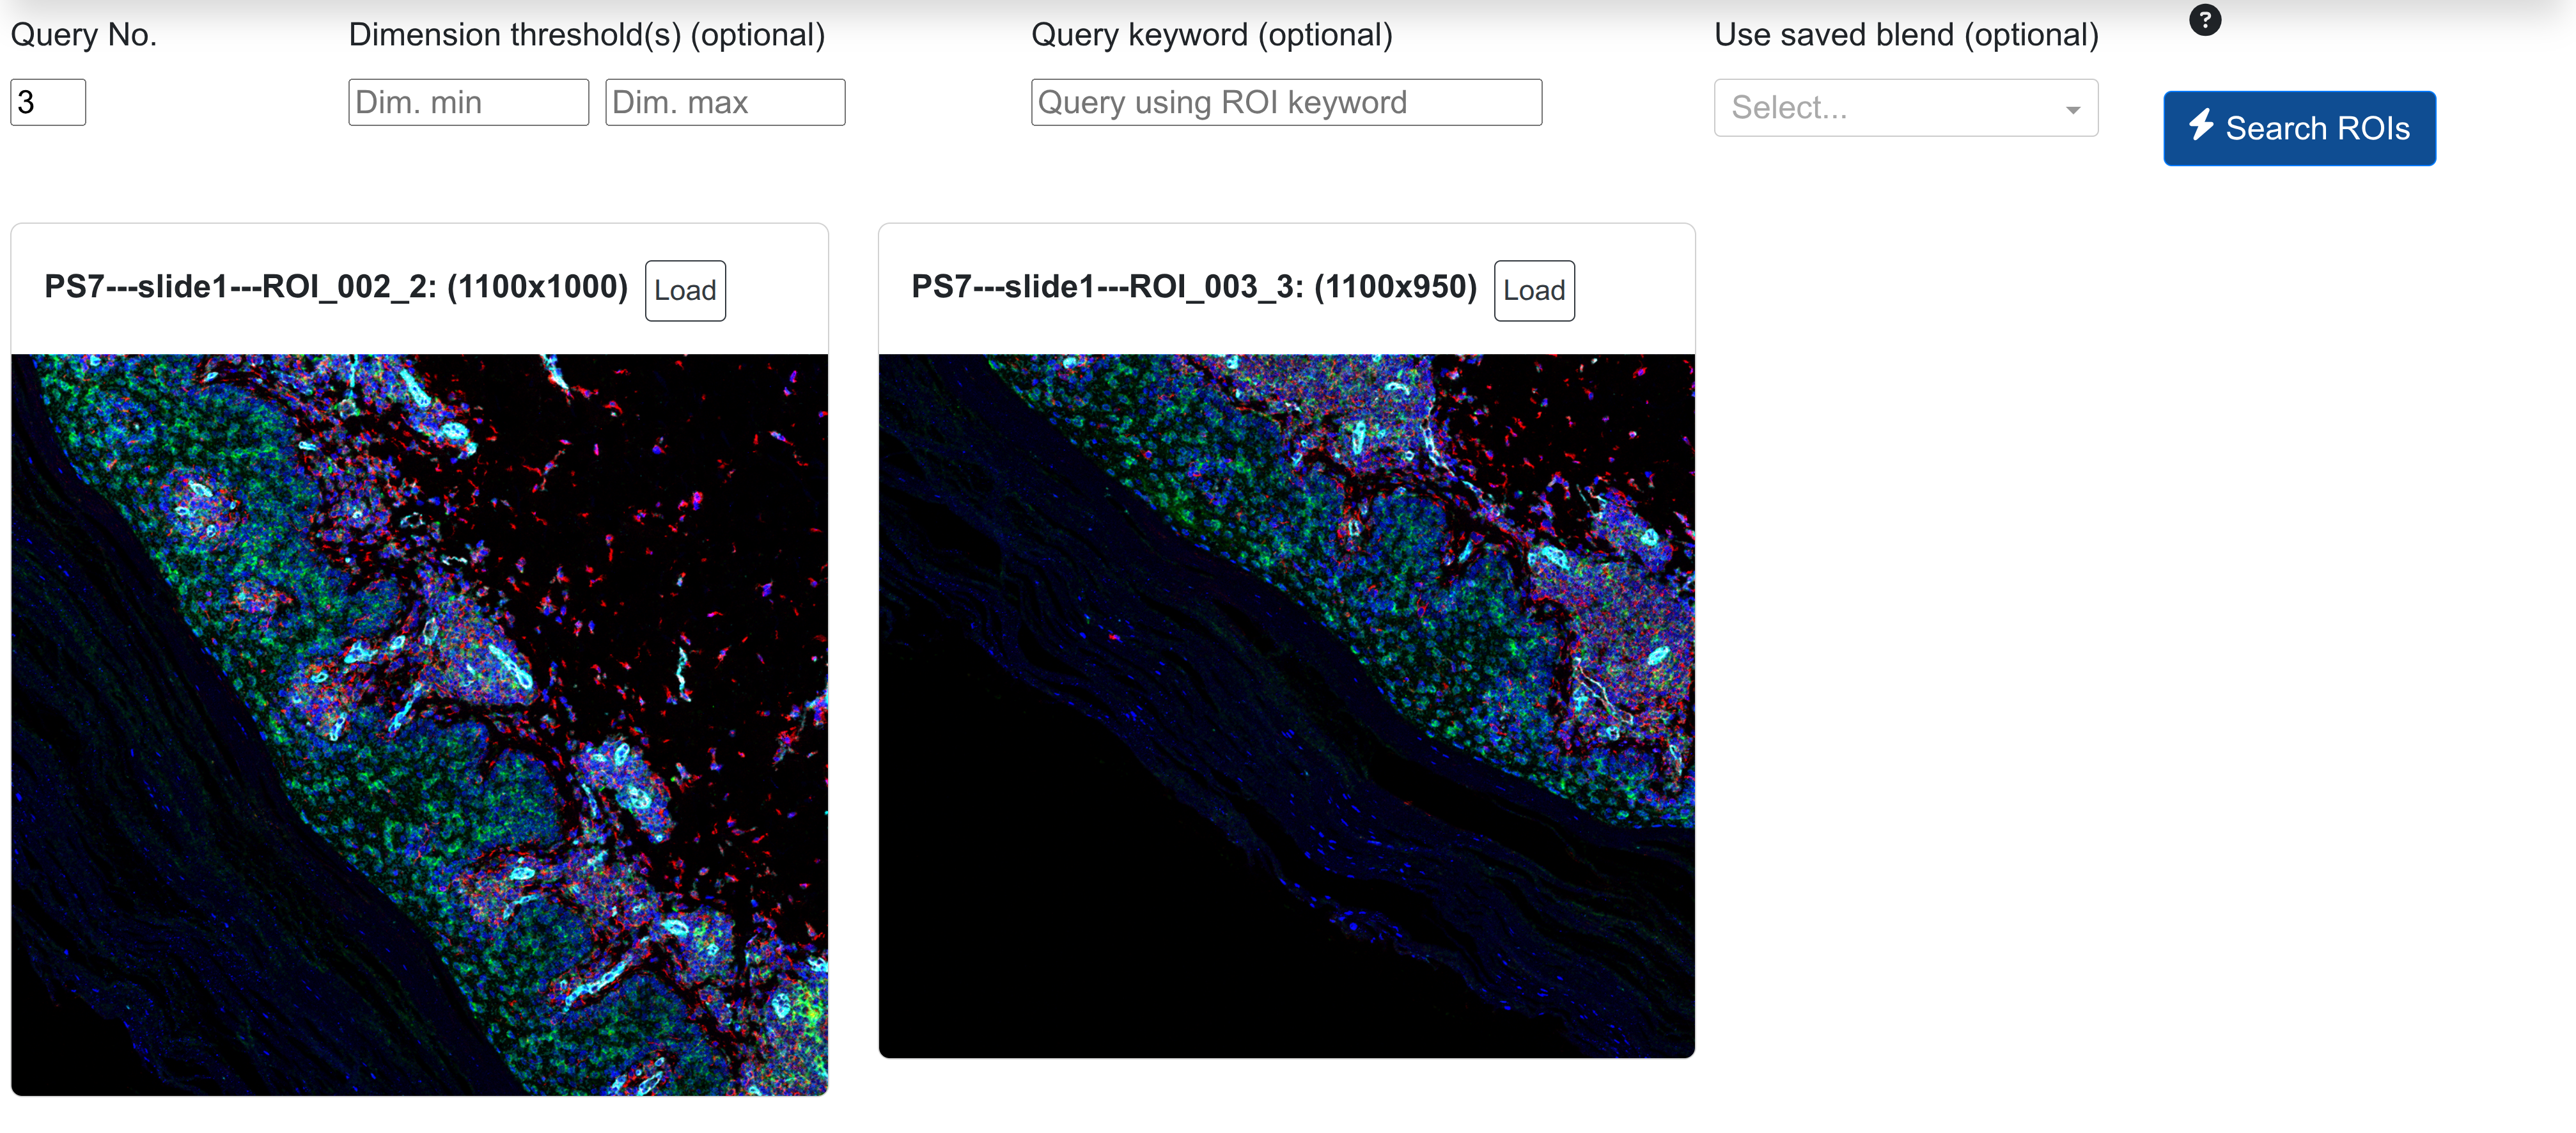
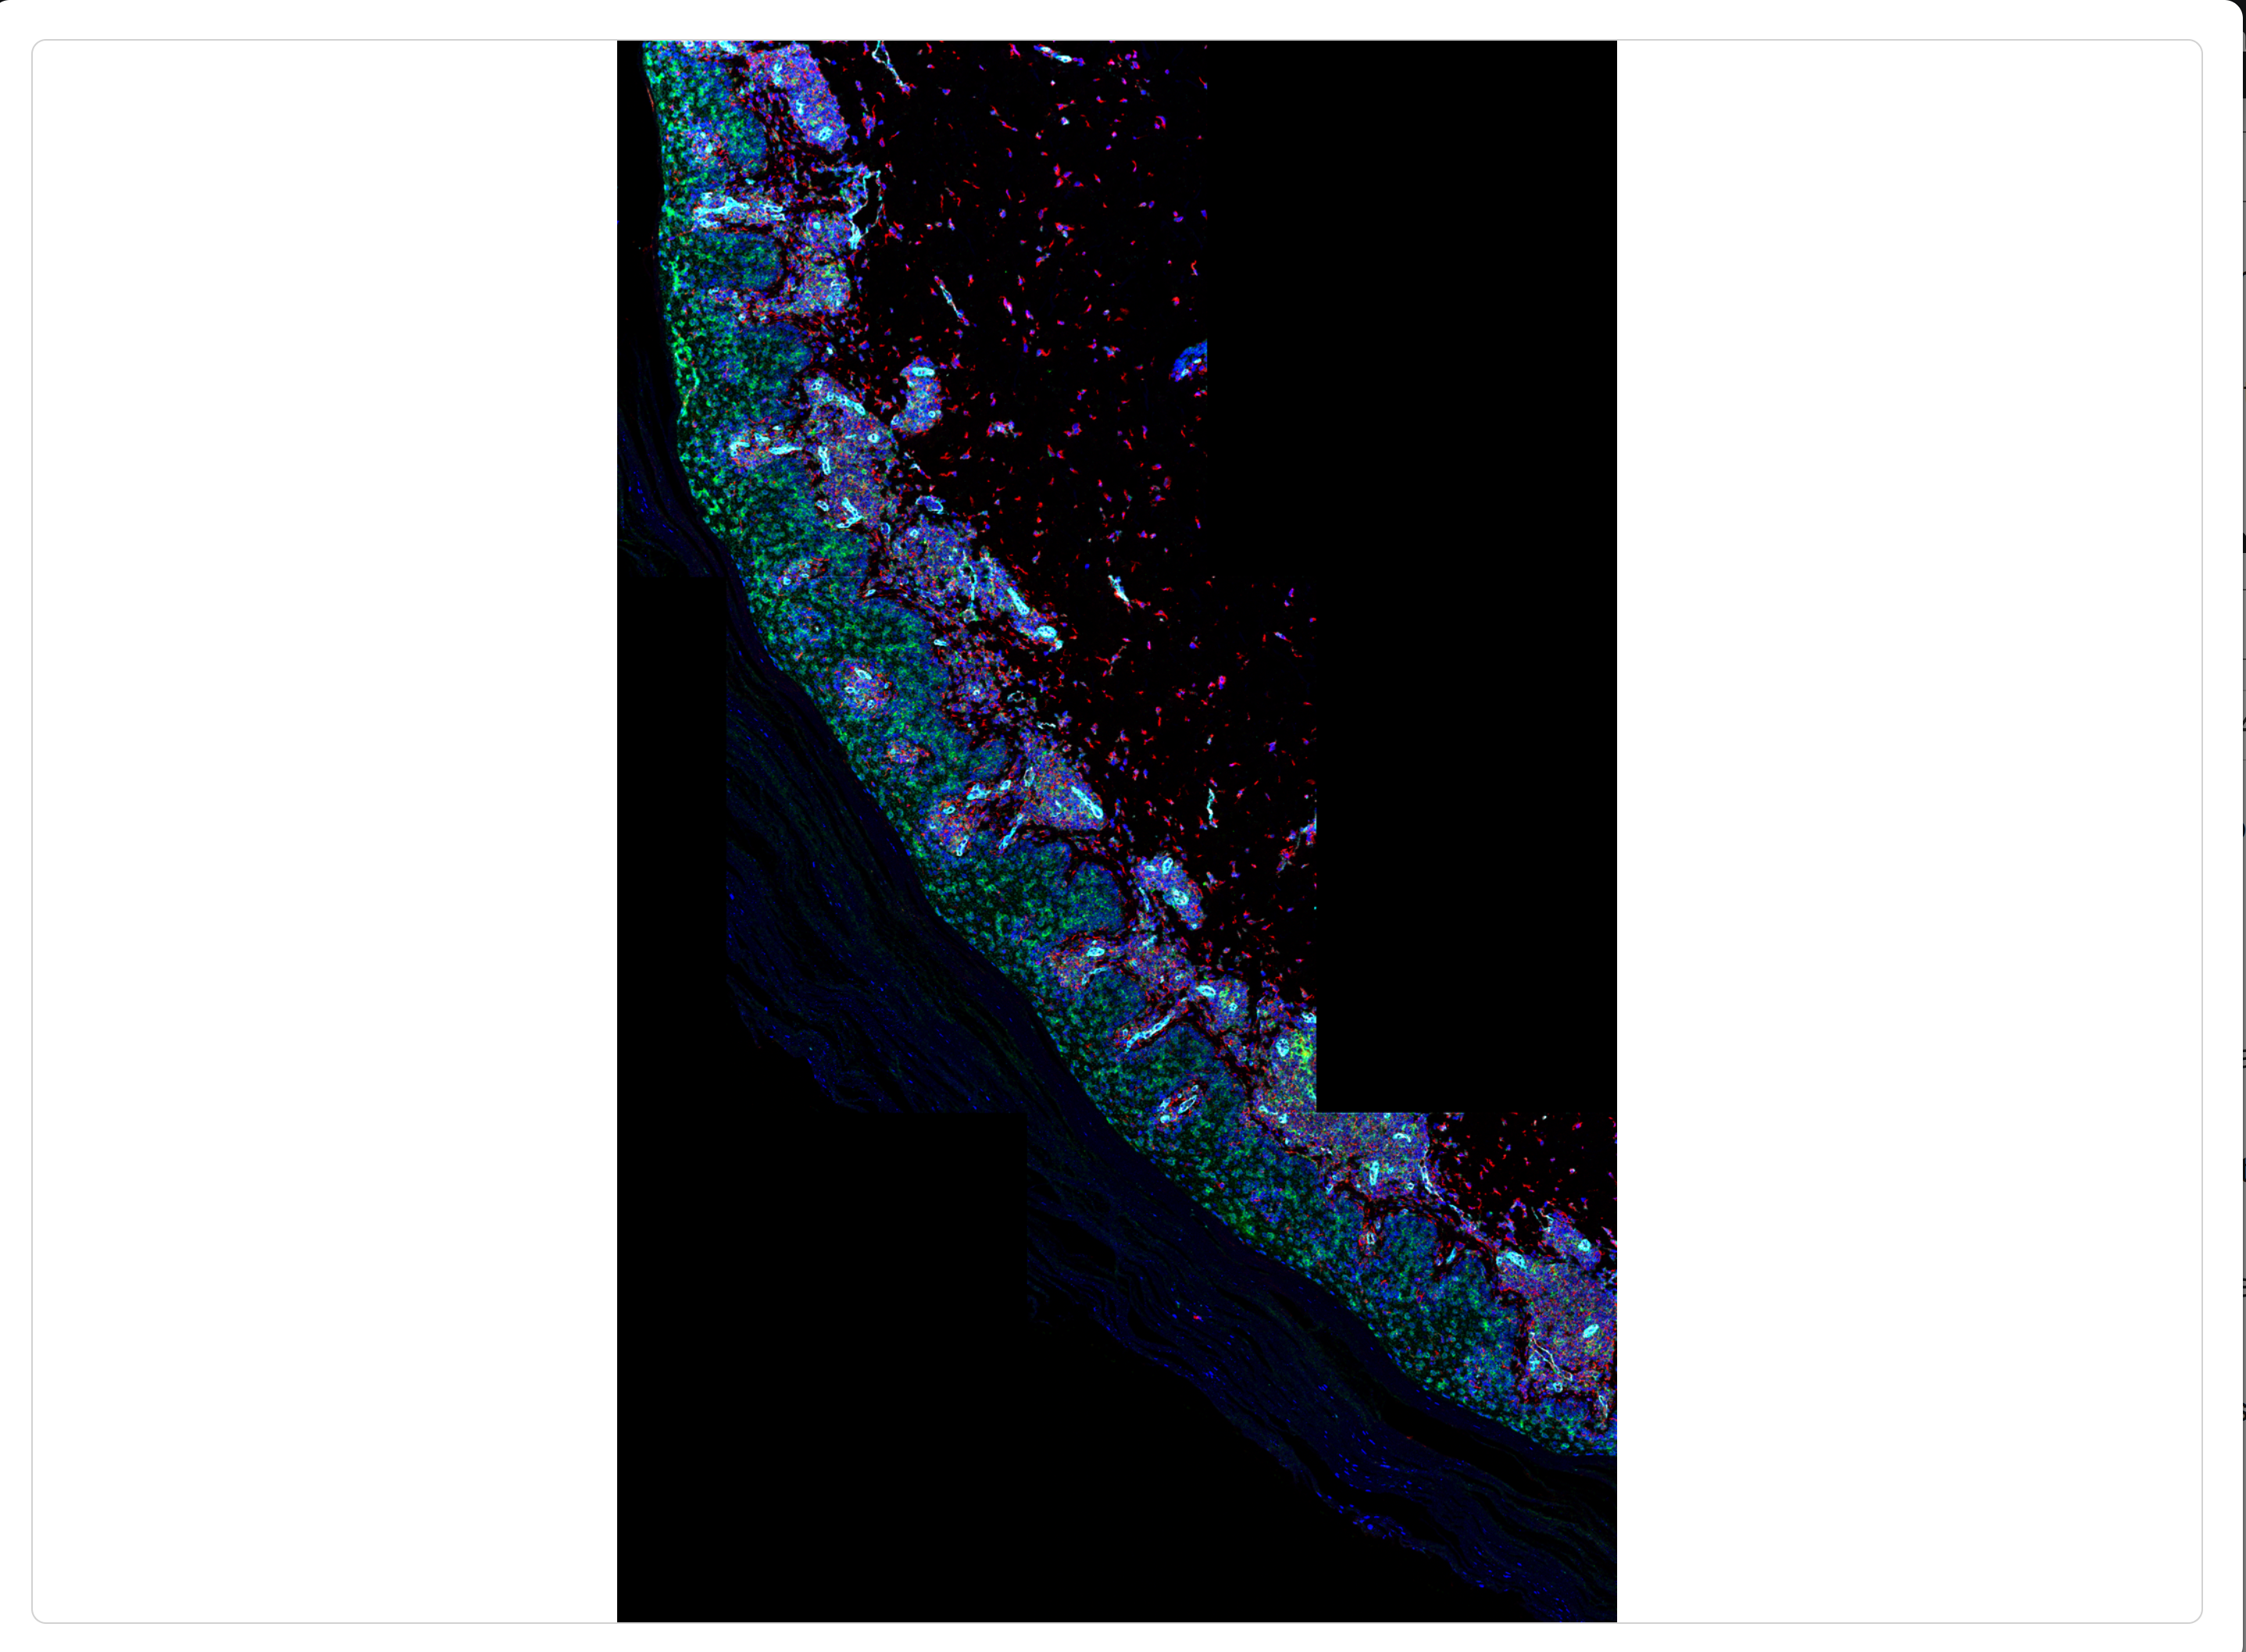
Once stitched to the stitched image PS7 as shown above, the whole slide panorama can be viewed:
Considerations and limitations
Currently, Rakaia enables coordinate auto-detection only for MCD files and CosMX Anndata files and not for other types of spatial assays or file types such as tiff; this is primarily because these other files may not explicitly contain whole slide information for multiple ROIs. Stitched images may be created from other assay types, however, the user will have to manually specify the coordinate positions for stitching for each ROI to be added, as there is no way for Rakaia to infer the global coordinate system for ROIs derived from file types other than MCD.
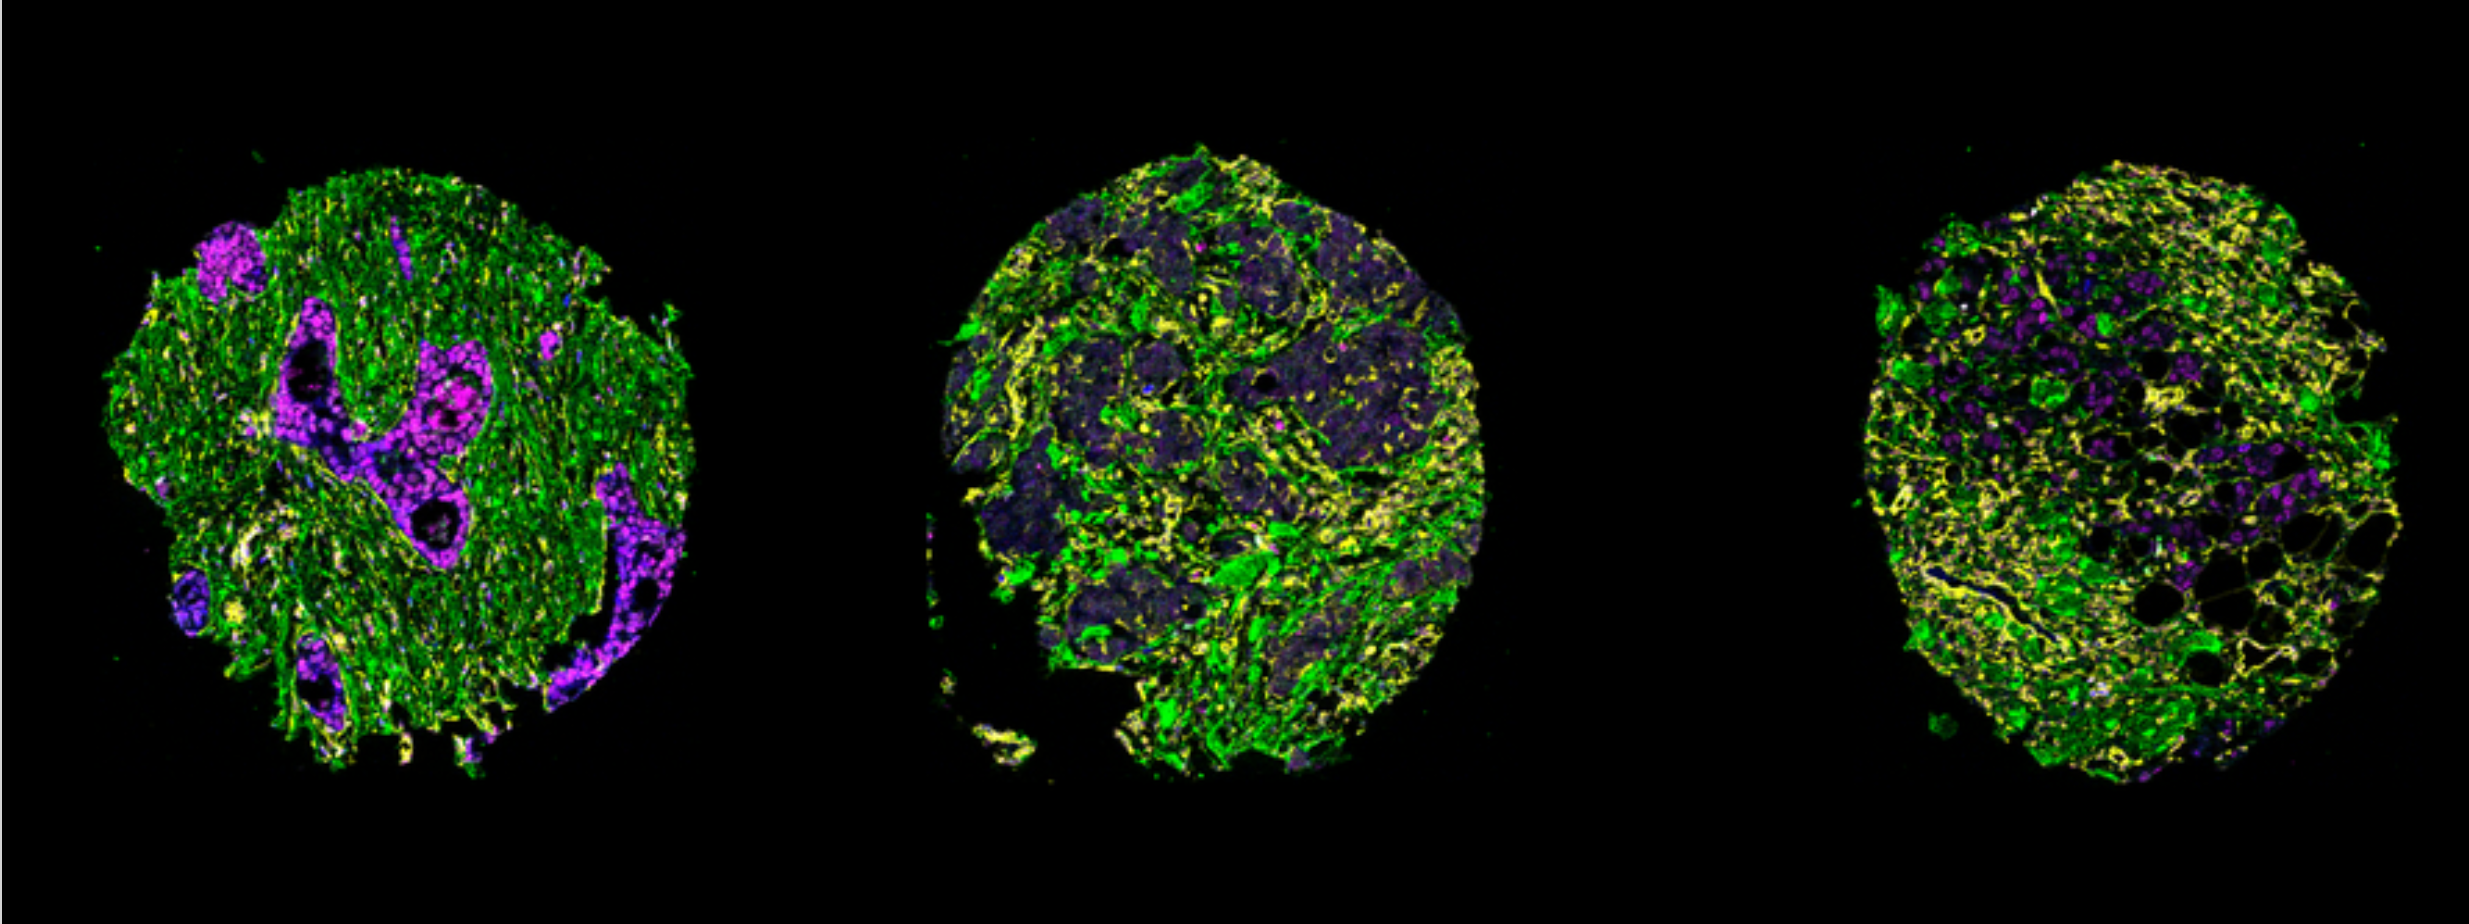
Shown above, TMAs from tiff files can be stitched together, provided that the user specifies the coordinates to space them apart.
Slide limitations with MCD
Some important considerations for stitching need to be made when creating such images from MCD files:
- Rakaia performs coordinate trimming on the global coordinates based on the minimum and maximum coordinates where ROIs are found. This is because the global slide coordinates in the MCD file are often much larger than the actual tissue area profiled (i.e. the global coordinates in pixels are often in the 30-40,000 range, despite the area of tissue proviled being much smaller than this total area). Therefore, any "dead space" found in the global coordinate system is trimmed so that the final stitched images do not contain a large proportion of empty pixels
- Similar to above, Rakaia is only able to infer global coordinates properly if all ROIs to be stitched are found inside the MCD. Currently we do not consider stitches among multiple MCD files, as there is no way to guarantee that the physical slide used to generate the data is the same. Therefore, it is important that the MCD file imported into Rakaia contain EVERY ROI to be part of the stitch; otherwise, the final stitched slide may be smaller than expected, or missing ROIs that were profiled in a different file, or on a different run.
Slide limitations with CosMX
- Every CosMX Anndata .h5ad file must have the same variables and slide values in the
unsslot, such as:
{'cosmx_global_max': {'x': 10000, ''y':10000 }}
Otherwise, Rakaia will not be able to determine that a set of CosMX ROIs belong to the same slide and should be stitched togther. The processing tutorial found here demonstrates a method for inserting these uns variables into each Anndata file using R.